Saturday, May 28, 2011

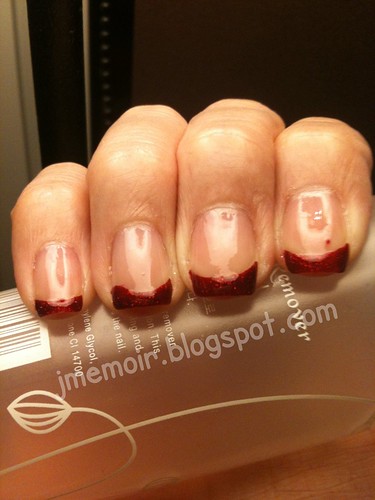
My 1st French Manicure...in RED

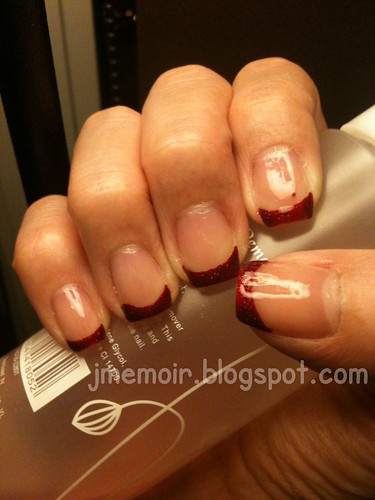
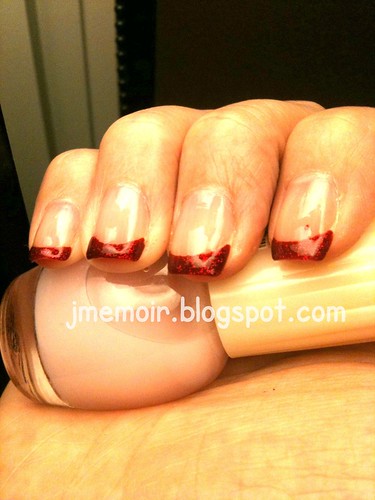
I was preparing for another round of manicure which I would like to wear it for my friend's wedding and so, I decided to do up a much more simple manicure few days before I change it again (Will post that manicure soon!). This time, I attempted a French Manicure (finally!) and I had to say, it's my 1st attempt on a French Manicure, hehe.

Pictures say a thousand words so I'm not gonna elaborate further! For my 1st French Manicure, I used China Glaze's Ruby Pumps and Nature Republic's unnamed sheer polish.


As you can see, I haven't perfect french manicure using tape so there's still a little flaw when I tried to do some freehand cover-up...and the little dot of polish I left on one of my nails. :(


As much as there seems to have a lot of flaws here and there, I quite like my 1st attempt of French Manicure, especially in RED! Am gonna attempt more French Manicure soon cos I really like the classy look of it!

Tuesday, May 24, 2011

Review: A Miracle an Apothéke Colour Corrector creates!

Was chatting with my colleague one day & she raised the problem of having a hard time concealing red spots on her face. Then, I suddenly recalled another colleague of mine complimenting on the colour corrector I uses to reduce redness on my face and thus recommended to her. This inspired me to do up a review on this product since I've been using it for more than 6 months and working great on me. Good things must share! :D

First of all, let me introduce you the Mineral Colour Corrector from Apothéke.    

They come in small & big sizes!

Ingredients: Titanium Dioxide, Zinc Oxifr, Magnesium Stearate, Kaolin Clay, Rice Powder, Mica, Iron oxides, Allantoin

They are all mineral ingredients which contain no chemicals and thus won't harm your skin.

Next, let me show you how miracle this corrector can be. As much as I do not wish to show all of you my bare and scarred face, I had to do so to show the result of this corrector. :(

My scarred face :(
To use the corrector, you can choose to use a concealer brush, or you can use a compact sponge like I did. This corrector is powder-based.

It's greenish and powder-based.
I used a compact sponge instead of concealer brush.
Dap just a bit of the corrector powder onto your brush/sponge and apply at the area of your face where the redness are. DO NOT RUB against your face but pat it slowly against your face. As I said, it's greenish in colour so do not expect it to look just like a concealer where it will blend with your skin colour, IT WON'T. It's meant to reduce the redness on your face ONLY.

When done, the redness on your face should be pretty much reduced and look like this:


If you noticed, you can still see some redness even after the corrector has been applied. Well, it's normal. This colour corrector does not act as a concealer so do not expect it to be one. I have to be thankful enough that it reduces my redness greatly! After your preferred concealer has been applied, it should look like this (I applied my mineral foundation from Apothéke on it too):


There! There are almost no redness shown on my face after that! It's like a miracle!

This colour corrector works a wonder on me and that's why I felt that I should post just what kind of wonder it worked on me. Been using both its foundation powder, mineral veil and colour corrector since last December and I have no regrets since. It literally nursed my damaged skin back to shape (my acne issue was really bad quite a while ago) with its mineral ingredients mainly Kaolin Clay & I really love these products to bits! 

Pop over to Apothéke if you think you wish to reduce most of the redness on your face which is bothering you greatly. :)

*Disclaimer: This is NOT an advertorial. The above content and review is purely written on my own accord and not in any manner, paid nor requested by the company of the reviewed product to do so. Review is 100% based on my own experience with the product only.

Wednesday, May 18, 2011

In the Mood for Poker~

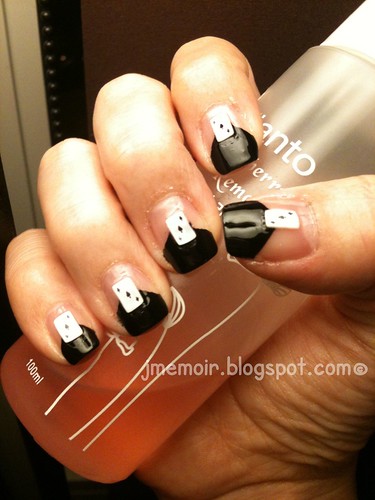
My original intention was french manicure, really. But right after i took out the the colors I wished to work on for my french manicure, I changed my mind instantly.

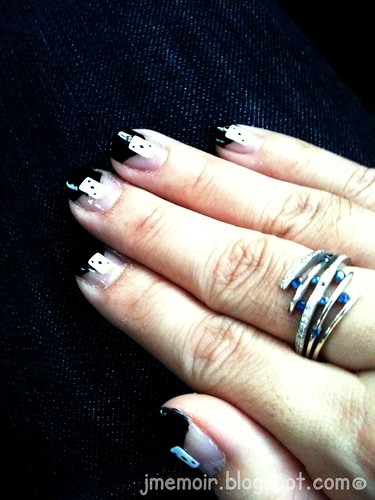
Just like a flash of lightning, I changed my manicure into a black half-V tape manicure with poker-designed fimo slices instead of the french manicure I wanted to do. The black nail polish I used was from The FaceShop. Upon completion, I felt the manicure was rather simple...or so I thought. However, when i went to work the next day with this fresh set of manicure, my colleagues were all complimenting me saying that this manicure nail art looked nice & classy! That really gave me lots of encouragement and acknowledgment on my creativity, hehe ^^.

Next up will be french manicure, I promised!

Tuesday, May 17, 2011

Loot from Faraway Land~

After waiting patiently for 2 weeks, my loot has finally arrived! Yes! My Taobao items are here!


As I was trying out a new service provider - 65daigou, I didn't dare to order a lot of items since I wasn't sure how cheap/expensive their shipping would cost me. So, I only ordered 5 items for this round, 2 dresses for my little darling, 3 leggings for myself ^^.

Honestly speaking, I didn't expect the leggings to be of any better quality since they are from China but upon receiving them, they proved me otherwise. Apparently, the leggings I ordered are of quite a good quality, especially the 2 leggings shown on the right of the photo posted above! Glad I ordered them right!

After my 1st dealing with 65daigou, I feel that they offer a really good service. Comparing to 1 of a spree-er organising taobao orders to 65daigou, I think 65daigou offers cheaper handling/agent fee. What makes me like their service will be the home delivery! With just $5 (if your total order is less than 8kg), you can arrange your items to be delivered right to your doorstep during the evenings! For someone who work during the day like me, I think this is really good :D

Now that I found a good provider who can help me order taobao items, I believe my wallet will burnt a bigger hole, LOL!

Sunday, May 15, 2011

Pedi Nail Art~

Blogger was having issues for the past 2 days, literally ruining my blog layout (It got 'rollback'), not to mention unable to post at all during that period.

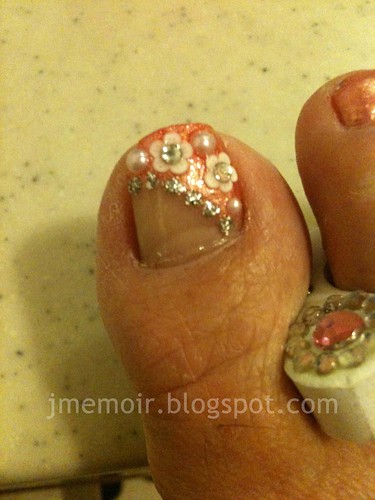
So, this is a dated post which I should have posted days before but well...Anyway, just some time ago, I did my very 1st nail art on my feet. Was amazed at myself for being able to come up with such a design which practically gushed through my mind at the very last minute!


Not exactly a very complicated nail art but the following was what I used to complete this nail art:

1) Nail Polish - Etude House unnamed (it's peachy-pink)
2) Silver Glitter Nail Art Polish from PR International
3) Fimo Art Slice - White Flower
4) Nail Art Pearl Beads
5) Transparent Rhinestone (placed on top of the Fimo Flower), recycled from Lubu Heels Manicure Nail Art

This is definitely my 1st on the feet, and I hope I will have more inspiration to do a better one after this...and beyond!