Showing posts with label nail lacquers. Show all posts

Saturday, July 14, 2012

Blue Dotty Art Manicure

I've been pretty slacked doing my nails due to my recent addiction in certain dramas. Too many dramas of my liking had surfaced and I simply couldn't take my attention away! However, that doesn't mean I've stopped!

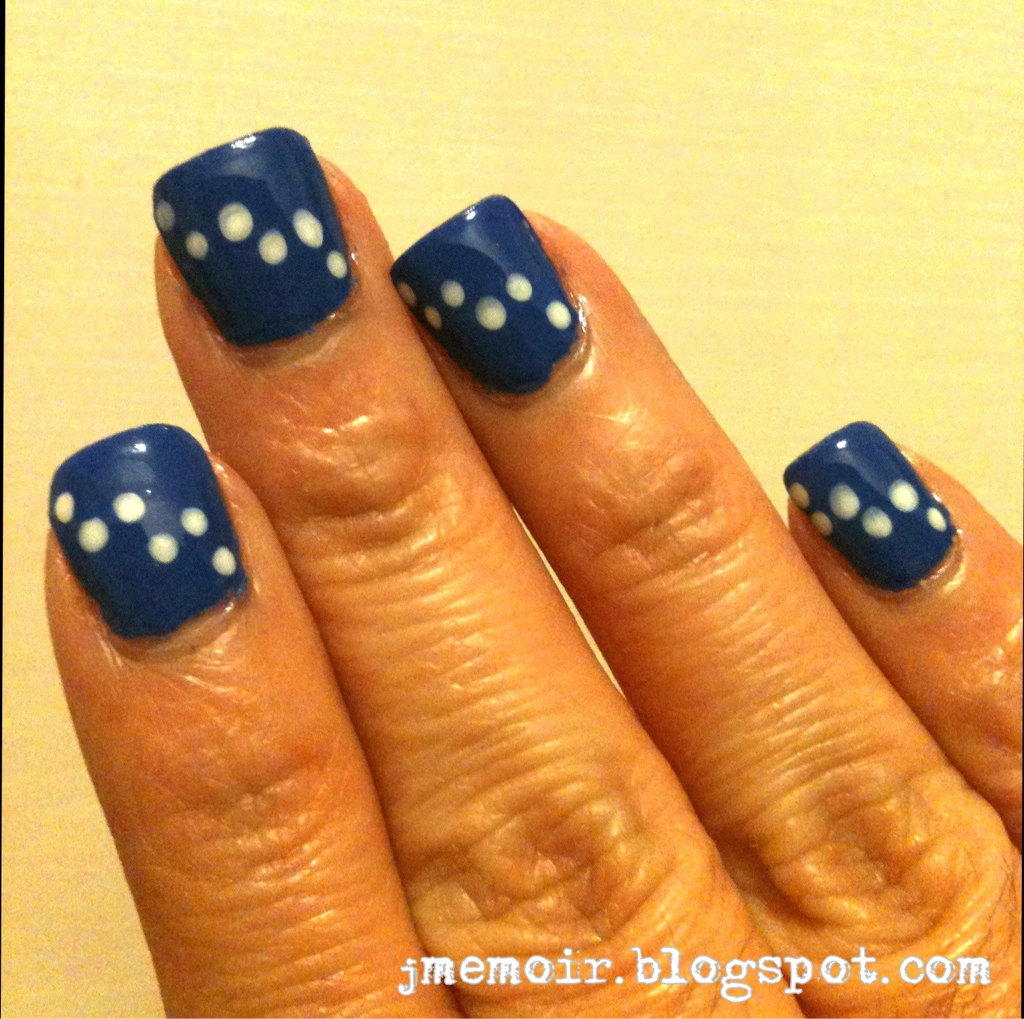
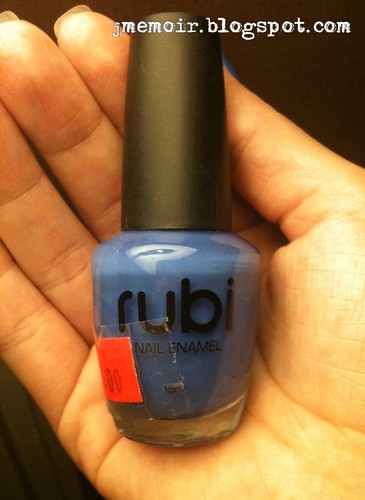
This time, I put on my latest nail polish haul from Rubi - 'Blue Suedes Shoes'. As usual, I added a little art in addition to the blues for some design, polka dots!

Above photo was taken under white light.

I love how vibrant this shade of blue looks on my nails, and reminded me of ocean. Vibrant as it looks, application for this nail polish wasn't easy at all. It dries pretty fast, almost at the point when I just took a brushful of it onto my nail. Thus, I nearly re-dip everytime I applied once on my nail. Oh, and a test of speed as well, haha! This nail polish definitely requires a minimum of 3 coats in order to ensure its beauty.

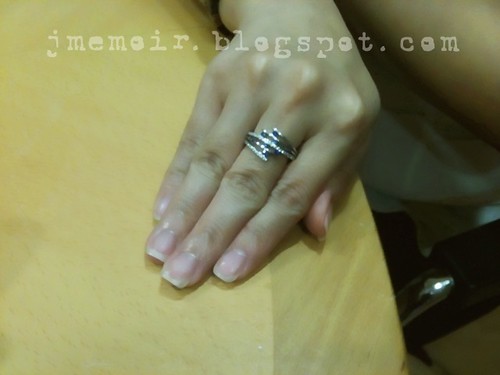
Above photo was taken under warm light.

It was pretty amazing to see how different the blue tone has changed in accordance to the lighting. It seems so neon and bright under white light yet dark and navy-looking under warm light. Still, I like its colors and effect alongside with the dots I applied!

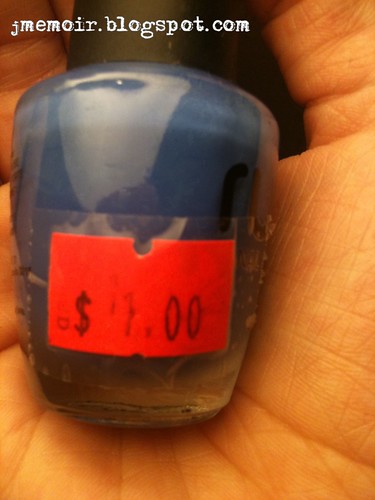
Well, as I mentioned above, the application for this nail polish might not be the most successful or smooth compared to others but honestly, I couldn't complain much either. This nail polish haul was by far the cheapest haul I've gotten for it only cost me $1! Such effect cost at only $1, I should say it is a good bargain with pretty result!

Now, all I need to do is to clear all my dramas so I can focus back on my nails!

Saturday, June 16, 2012

Nail Art Stickers (Water Decals) - Tutorial

After being a nail art addict for a period, I've yet to touch base on nail art stickers. NEVER. Thanks to my friend, I was finally able to experience my 'first' nail art sticker process!

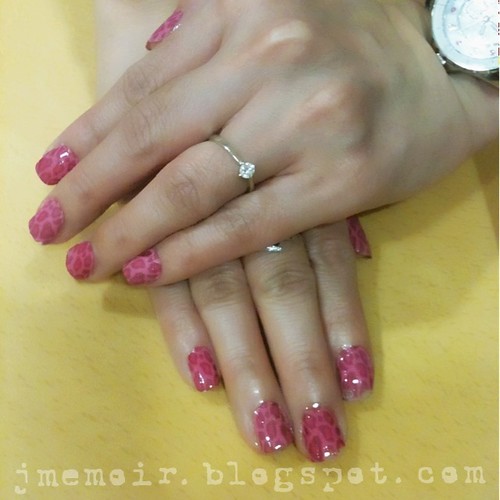
My dear friend brought us a few nail art sticker designs from her sponsor and got me, along with another friend to choose. I chose a Pink Leopard Printed nail art sticker set for this attempt. Yeah, so expected of me ya? Hehehe...

From the look of it, it's pretty gorgeous, isn't it? Frankly, I was kinda nervous yet curious about how this whole thing works. Nonetheless, I came prepared and my nails were all cleaned before this 'experiment'. That's the most important and also the first thing that needs to be done before anything gets started! Now, let's move on to the process.

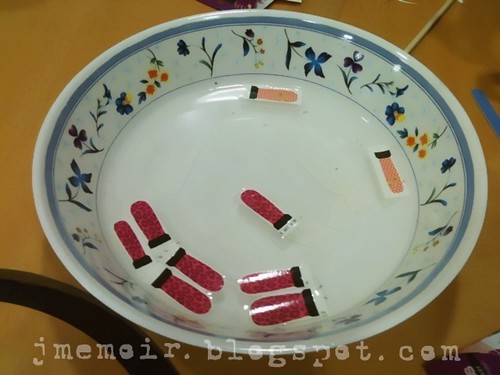
First, what we did next was cut out all the nail art stickers individually from the set and put them all into a bowl of water. That's right, a bowl of water is what you need! Leave it be for a good 2-3 minutes before you use a tweezer to pick it up from the water. You will notice the sticker's starting to peel open.

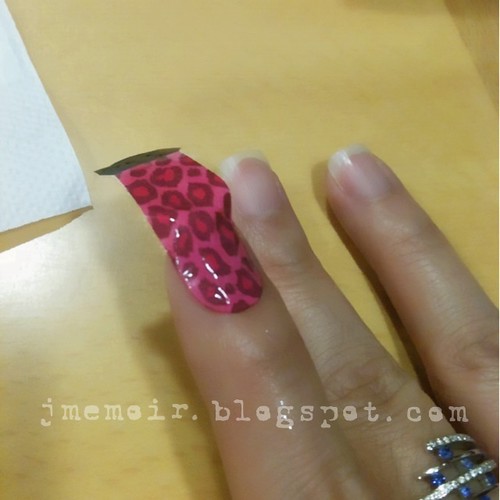
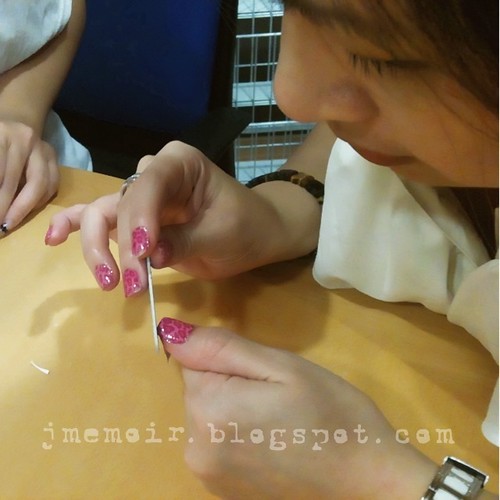
Next, put it over your nail (according to your nail size). Use a cuticle stick to omit the air from the sticker and smoothen the surface.

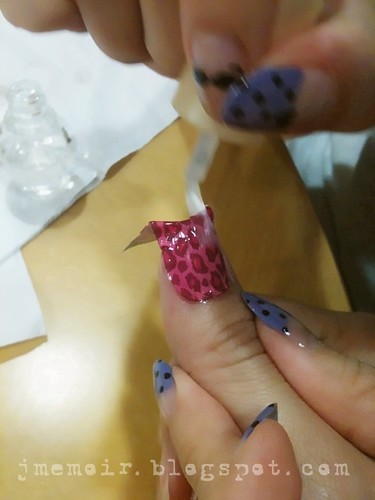
Once you deem ok to proceed, apply a layer of top coat on your nail stickers. The stickers will start to work their magic (start to bend).

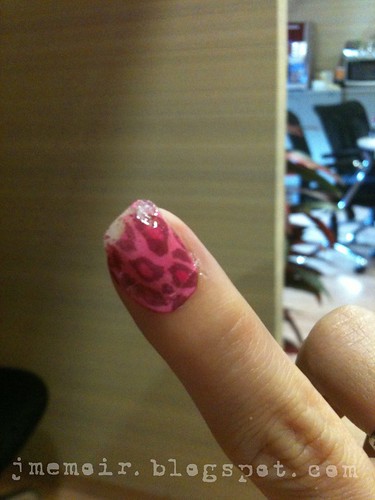
Wait for them to semi-dry, followed by using a nail filer to file the excess away. Once done, it will look like this.

Yes, there's bubble on my nail so please pardon my noob-ness since it's my first try! If you do not wait for your nails to dry upon applying the top coat, here's the consequence you will face (I got mine T.T):

*sob* It's so wasted! I could almost enjoy a damage-free set of nail art stickers on me!

After my dear friend did a few nails for me, I decided to experiment it on my own so as to understand the complexity of doing this.

It really wasn't easy for me to complete the whole process within an hour, which in this experiment/attempt, we took slightly longer than that. Upon completion, I was practically immersed with my own nails!

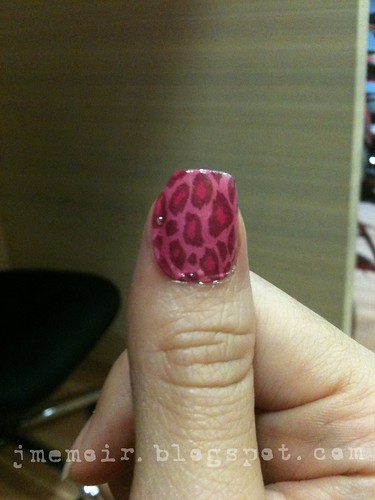
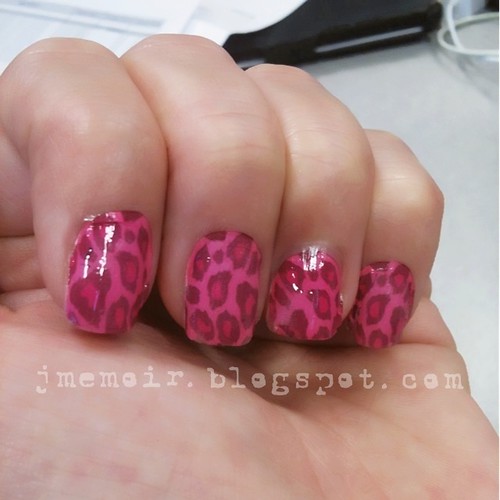
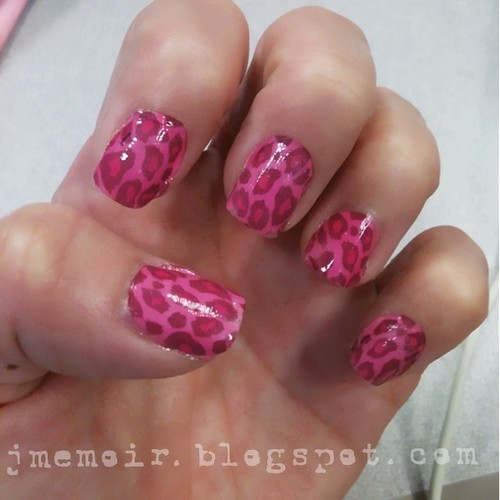
Another few shots on my new achievement, full view!

I really love this set of Pink Leopard Printed nail art stickers, especially when they're on me!

Well, this was a truly fun and exciting experience for me, though it took us quite some time to complete our nails. I reckon once we are used to the process, the time taken will definitely be much lesser. The nail art stickers aren't costly, hence for those who are not exactly into freehand nail art but want to have fancy nail designs, you may just wanna try it!


Sunday, April 8, 2012

Travelling Extravaganza - Seoul

This is, I believe to be the last travelling extravaganza I'd have until a few good months before I'll get to travel again *cross fingers*.

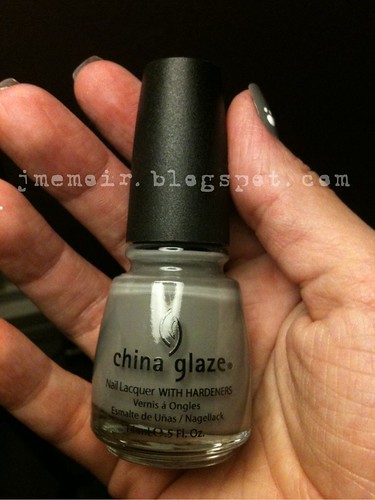
Though my eye was still under recovery then, I applied nail lacquers for the trip for vanity's sake and also to console myself not to keep thinking of my condition. With that, I took Color Club's Otherworldly from my nail lacquer stash & applied them onto my nails.


Seriously, I've bought it more than 3 months ago but I had no idea why I did not use it till now. Perhaps I was hoping the blue and the glitter will elevate my mood somehow. Nonetheless, the application for Otherworldly is very smooth and I only used 2 coats for this.

Being one who love Seoul, this trip wasn't very enjoyable to me due to one and annoying reason - my eye. As mentioned in my previous blog post 'Eye Infection Gone Bad', my eye's condition had gone terribly bad during my trip there. I was really thankful to my partners in Seoul who took such good care of me & even offered to bring me to an eye specialist just to get my eye checked. Without them, I'd have freaked out in a foreign land!
话说回来...although I did not truly enjoy my trip (physically), I did manage to do some retail therapy there, heh. My shopping desire in Seoul was pretty objective - Hair accessories, anti-dust caps if any and foot masks (since I'm allergic to most korean skincare products). My most extensive loot? Definitely the iPhone anti-dust caps and hair accessories! I basically had a serious overhaul on these 2!

iPhone anti-dust caps!
Some are giveaways, some for self-keeping of cos!
Hair accessories overhaul!
Some on the right were for my girl, the rest...MINE!
Honestly, I bought more than those...but somehow, due to my eye, I wasn't in the best of mood to take a lot of pictures and thus, these 2 were the only ones I took when I was in Seoul. When I came back from Seoul, I was literally focused on seeking a cure for my eye and didn't think of taking any other loot I've brought back from Seoul anymore. Am truly sorry I couldn't share the joy of Seoul's shopping haul for this time.

Let me get my eye fully recovered and I'm sure I'll be able to tune my mood back to normal & blog with more energy again!

Friday, December 30, 2011

Kitty Craze, Kitty Nails ~ Hello Kitty

With my recent craze in Hello Kitty (all thanks to that special someone), I decided to do up a Hello Kitty nails for my business trip to KL. I wasn't really confident in freehand, especially a kitty but i decided to do it anyway.

Haha, as you can see from the photo, my kitty design wasn't perfect. As i really isn't a professional at freehand yet, i didn't realised my french manicure was too thin to fit in hello kitty's ribbon! What a muddle-head i am!

Hope it didn't too weird & un-kitty-like in this nail art, hehe...

Monday, December 19, 2011

A Time for Golden-Black

Sometimes, I really feel that gold brings a certain level of 'class' to the person using or wearing it, but likewise, not everyone can carry the colour gold has.

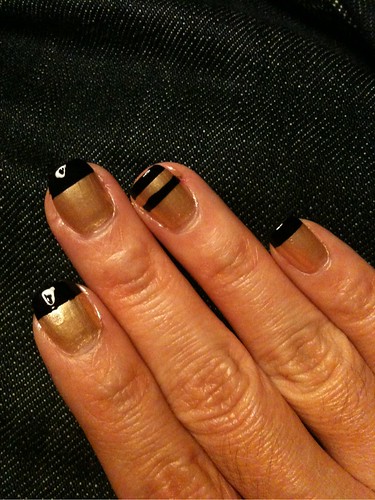
And so, I attempted to try it on my nails to see if i can bring on gold's classy presence. This time, I did a black french manicure with gold-color base. This design took me less than 30 mins to complete. :D


Not entirely sure if gold really suits me, but I feel this combination of golden-black does look kinda nice on my nails, hehe~

Thursday, November 17, 2011

Leopard Prints French Manicure

One of my favourite DIY nail art I did onto my nails. Though it was the first time painting my nails with this design, I felt so proud of myself, hehe.


Maybe it's time to try out other leopard colours for the fun of it? I do know one of my colleagues LOVE leopard prints to the MAX! Perhaps I shall do another design to surprise her!

Wednesday, September 14, 2011

Patriotic? Nails for National Day

Not wanting to look too patriotic for my own country's Independence Day (too dramatic), I decided to just go along with the color theme instead.

Since my country's flag consists of red and white, this is what I had done for my very own Independence Day (National Day), using China Glaze's Salsa and my brandless white nail art pen.


China Glaze Salsa has very nice application, not too streaky and displays smooth look to my nails. I did not regret buying this from my colleague whom was trying to get rid some of her nail polish collection! Great Buy!

The lines are drawn freehand and I am quite proud of myself to be able to draw the lines 80% straight, haha! Shall improve further ^^.

Friday, September 2, 2011

Pastel French Manicure with Polka Dots

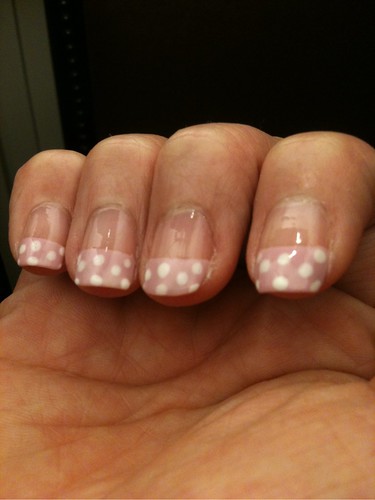
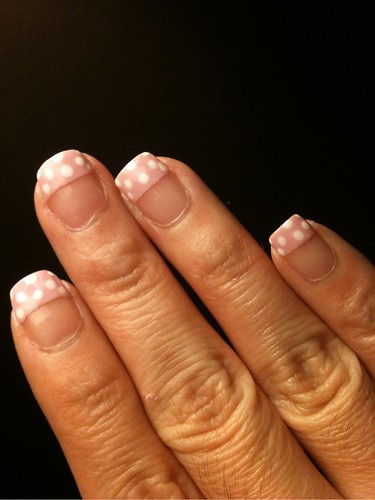
I was never one who likes to apply sweet, ladylike nails on my fingers but this time, i decided to go demure & attempt a sweet sweet design on my nails.

Being a french manicure addict, I couldn't help but to go for french tips once again & not to mention my fav DOTS! The purple tips are from Eilanto, while the white dots' from China Glaze's White on white.

This set of design had generated quite a lot of 'Likes' and 'Reblogs' in my Tumblr & as a matter of fact, i think i like it quite dearly myself too ^^.

Looks like i may attempt such pastel colors more often, hehe.

Tuesday, August 30, 2011

Sand-Storm Nails

Am trying the new mobile blogging app i've gotten recently to replace WordPress (kinda sucky) so if alignment seems weird to you, please pardon me!

Today, the nail design i'll be posting is kinda impromptu design for my birthday week. I know it should be designs of balloons or candles but unfortunately, it didn't register into my mind at that point of time., hahaha! Using Etude House's minty green and FaceShop's shimmer nail polishes, I freehanded my 'sand-storm' waves!

No balloons, no candles! Though i may not have painted those for my bday, i may just as well do it for a other occasion!

Monday, August 15, 2011

Dotty Flip Flop Fantasy

I have yet to attempt my nails in full polka dots. So far, only french manicure polka dots but not on full nails. Therefore, I decided to give it a try and what's even more interesting was....I did it on China Glaze's Flip Flop Fantasy, hahahaha! The neon------------with dots-------------

Used my lovey dovey dotting tool with the new black nail art pen/brush I just bought to freehand the ribbon on my ring finger. I gotta admit, the ribbon wasn't drawn perfectly. Practice makes perfect!!!!


It was soooooo bright and outstanding....many of my friends felt irritated by the dots with the neon color, some love it to the max. What about you?

Friday, August 5, 2011

Arty Fruitty Nails ~ Nails for a Friend

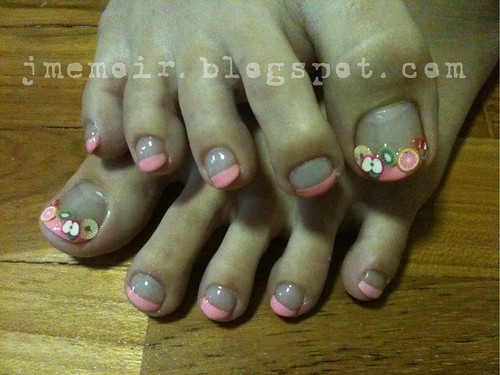
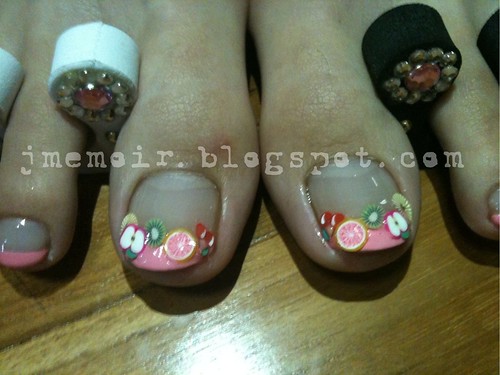
Did a pedicure nail art for a friend of art recently and I thought I could have posted them up here.

It was my first attempt at doing nail art on someone else's hands/feet so was kinda nervous too. I really want to thank my friend, Felicia, for volunteering herself to me when she heard that my hobby is DIY manicure ^^. That was really brave of her so KUDOS to you gal!

Her nail beds on her feet was SOOOOO flat that they were really easy to paint on! As she really fancies pink, I did a pink french pedicure from Eilanto on her and added some fruits for decoration. :D


Do you find the nail design on her hands look somewhat familiar to you? That's right, it was my original nail design from 'Manicure for a wedding'. She was involved in the wedding as well and she told me she totally loved my bling bling manicure that looks like gel polishes!

Not to shabby for a 1st attempt on others I hope ^^.

Sunday, July 31, 2011

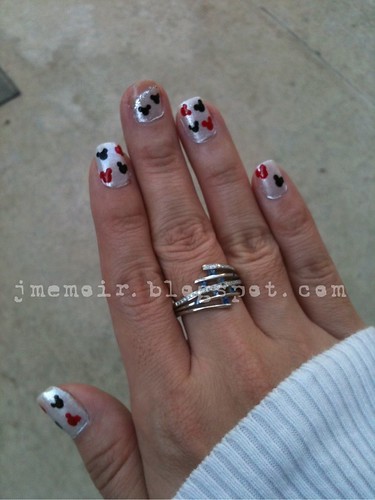
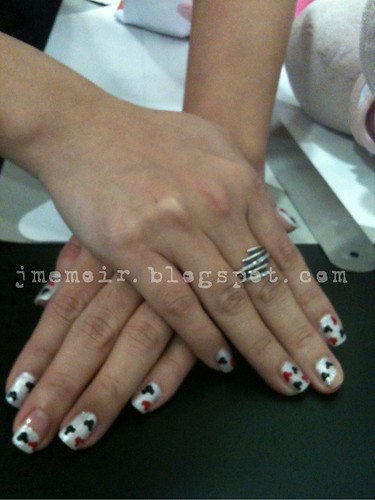
Mickey Mouse Nail Art

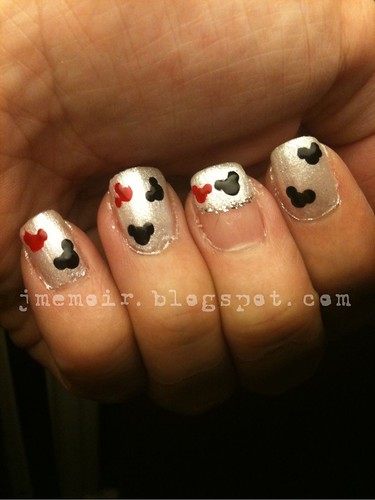
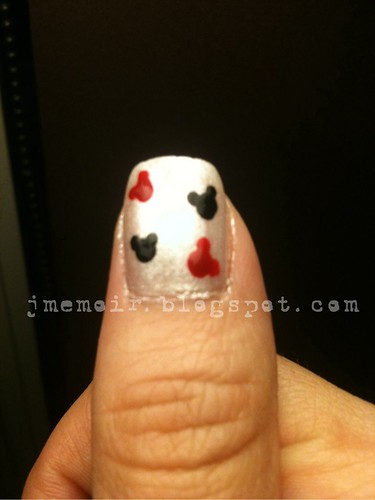
This nail art is dedicated to my precious daughter who recently fell in love with Mickey Mouse.

However, instead of doing the common red/white polka dot nail art, I decided to try another design to depict my very own Mickey Mouse nail design ^^. Yet, I may just attempt the common design soon, hehe.

Nail Polishes used: Faceshop Pearl White (nail base), China Glaze Salsa (Red Mickey), Faceshop BK901 (Black Mickey)


You may notice why I have an odd design on one of my nails. That's cos I recently had a cut on it and had no choice but to trim it short & outta shape. Being a nail addict who must put on some lacquers on, I decided to play with designs to hide it away. :P

Friday, July 22, 2011

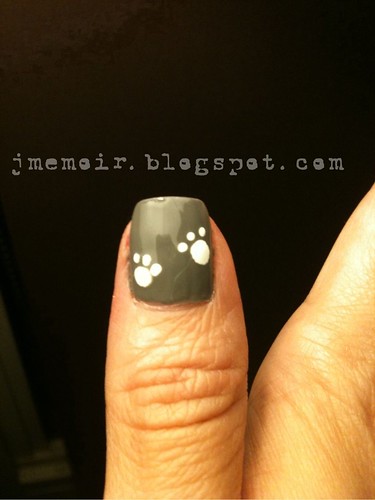
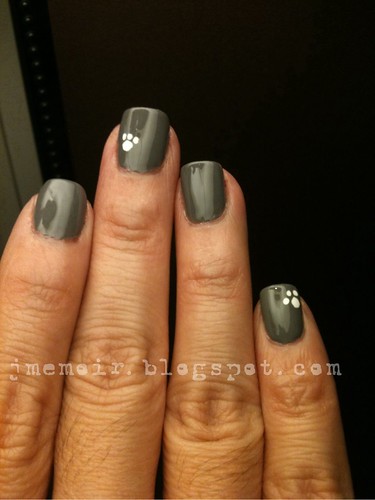
My Very Own Paw Prints~

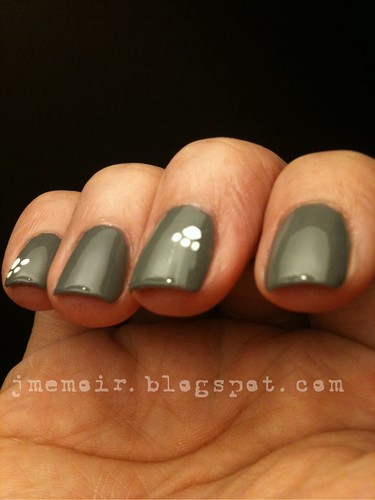
Have always wanted to draw paws on my nails but wasn't very confident in using nail art pen, so I left this idea aside till now. Being so hooked onto nail art now, I feel that my confident level is higher and able to pick up my courage into drawing...on nails.

The China Glaze Recycle I bought off from my colleague is just so damn good! For someone who doesn't like applying creme-based nail polishes, Recycle is a breeze when it comes to application! Not streaky at all and all it took me was just 2 coats ^^. As for the paw prints, I used Etude House's white nail art pen to apply. Simple design yet pleasant to the eyes. :D

China Glaze - Recycle


Thursday, July 14, 2011

Milani Red Sparkle Swatches

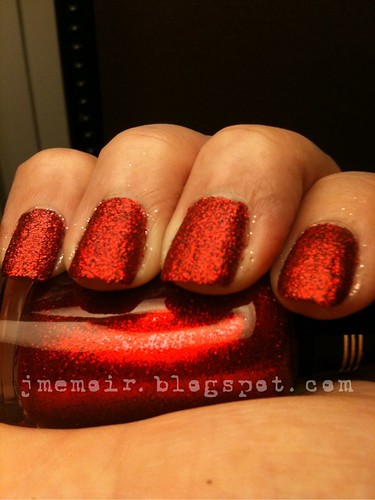
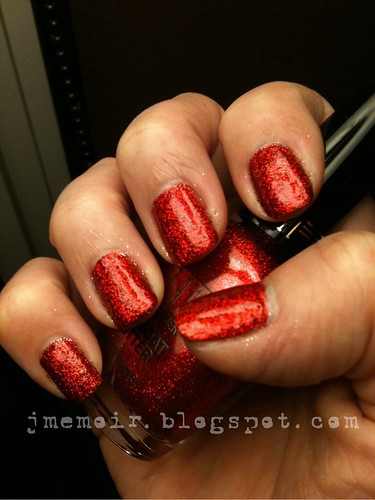
After receiving my Milani hauls from a spree-er (Post on Parcel of Joy - Milani Hauls) a while back, I finally took the time to use Milani Red Sparkles on my nails. Friends told me it's of bright red color resembling chilli and I didn't really believe them until I swatch it onto my nails!

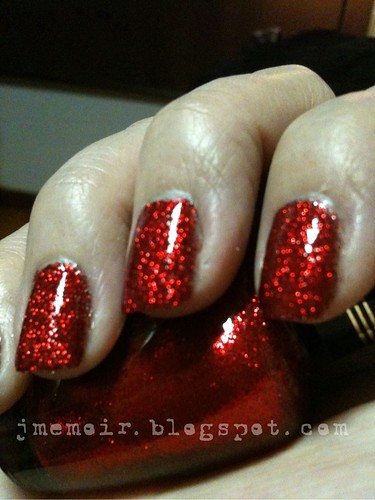
Not only it is bright, it is indeed sparkling as well! The glitter effect is amazing to the point I couldn't stop looking at my nails while working, haha. Application was a breeze as well and can be done under 1-2 coats max depending on your preference. For me, I swatch with 2 coats out of habit.

without top coat
with SV top coat
Aren't they glittery and sparkling?

Wore this for my KL trip and boy was i glad i chose this color cos it simply cheered me up throughout my overseas period ^^.

Sunday, July 10, 2011

Yellow, yellow...I like you, do you like me?

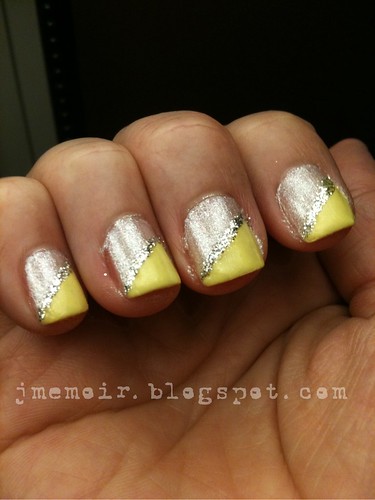
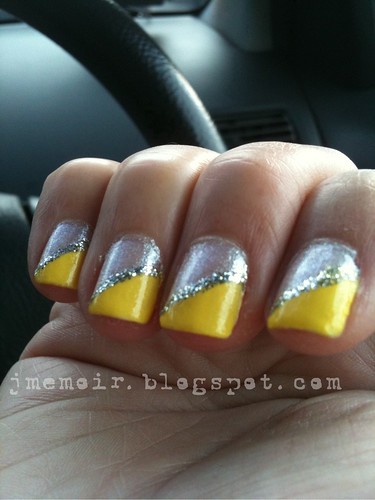
It was my 1st attempt at yellow lacquer and....I have no idea whether it suits/suited me or not. Tried a full yellow manicure prior to this manicure below but it just sucks to the core a.k.a UGLY! So, I had no choice but to remove them and redo again...

Used both FaceShop and Etude House nail polishes for this set of manicure. Though I quite like the turnout, I am still very unsure if yellow suits me at all.


What do you think?

Monday, July 4, 2011

Dual French Tips/4th July Mani...

Hehe...I'm not from the states, but I do like to attempt themed nails sometimes. With 4th July here, how can I resist the temptation?

I didn't really want the usual 4th July nails where they are mostly flag and stars designs. Hence, I tried a more non-conventional design where some may beg to agree on this. My manicure/nail art for 4th July is mainly circling around the color combination, that's all.

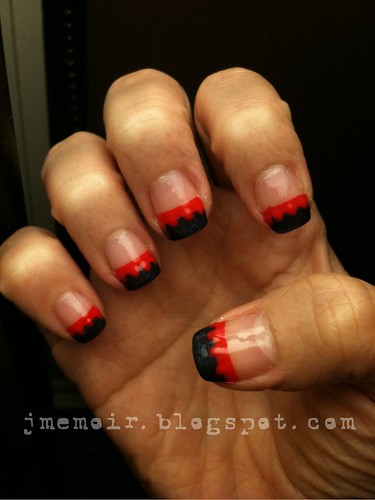
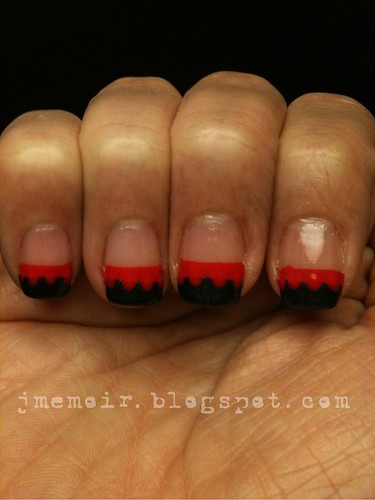
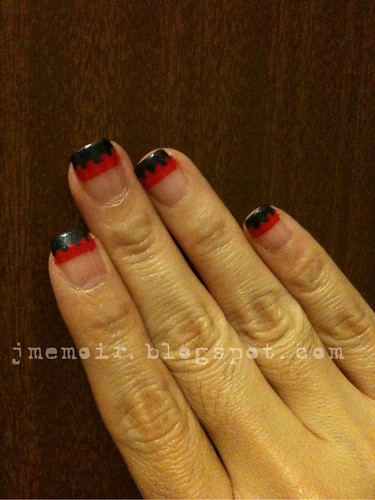
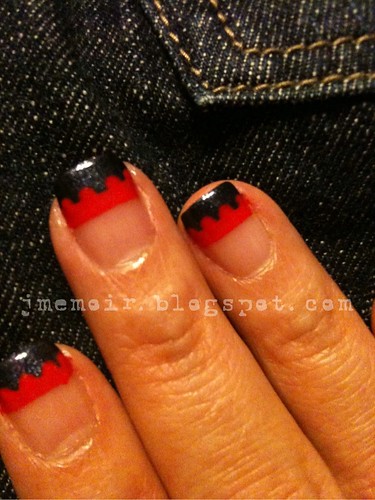
This time, I made dual french tips on my nails with Etude House's Chilli Red as 1st french tips, followed by China Glaze's Midnight Mission as 2nd french tips. 1st french tips were done using tapes, while the 2nd french tips were painted freehand. After-which, I covered my freehand-painted tips with dots.


Midnight Mission is on the darker side of the blue family thus it looks kinda blackish under warm light. I know this may not look really like the traditional 4th July nail art but it is my own work with 4th July color scheme.

Some told me they look like castles, some said they look like zippers. What do you think?