Showing posts with label tape manicure. Show all posts

Monday, July 4, 2011

Dual French Tips/4th July Mani...

Hehe...I'm not from the states, but I do like to attempt themed nails sometimes. With 4th July here, how can I resist the temptation?

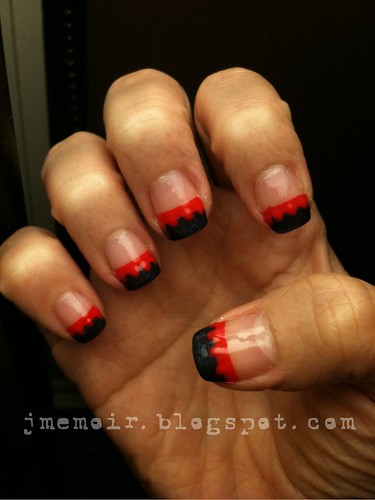
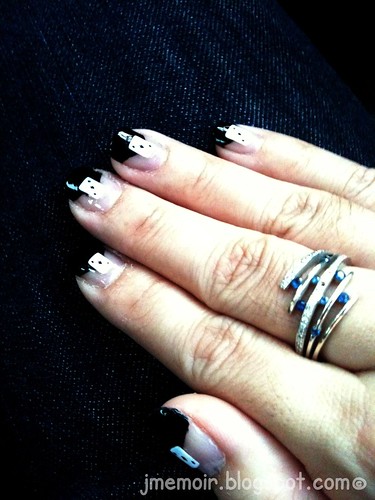
I didn't really want the usual 4th July nails where they are mostly flag and stars designs. Hence, I tried a more non-conventional design where some may beg to agree on this. My manicure/nail art for 4th July is mainly circling around the color combination, that's all.

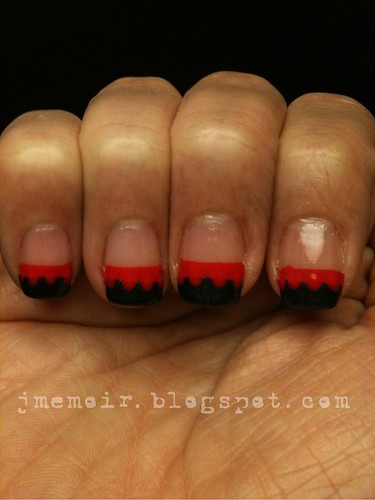
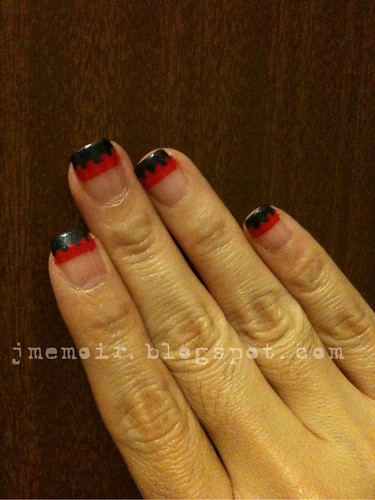
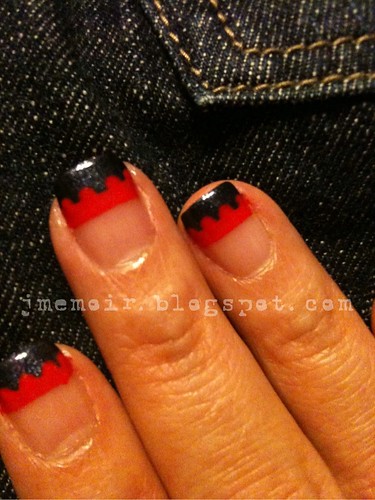
This time, I made dual french tips on my nails with Etude House's Chilli Red as 1st french tips, followed by China Glaze's Midnight Mission as 2nd french tips. 1st french tips were done using tapes, while the 2nd french tips were painted freehand. After-which, I covered my freehand-painted tips with dots.


Midnight Mission is on the darker side of the blue family thus it looks kinda blackish under warm light. I know this may not look really like the traditional 4th July nail art but it is my own work with 4th July color scheme.

Some told me they look like castles, some said they look like zippers. What do you think?

Saturday, June 25, 2011

Polka Dot, Blue French Tips~

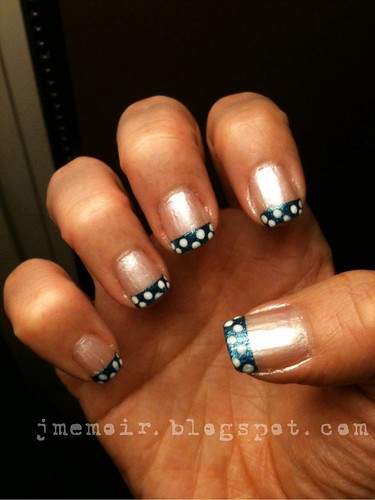
I love french manicure, I love french tips. Such designs never seem to bore me and I simply love it to the core.

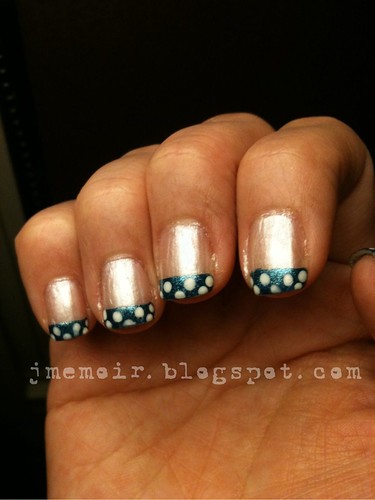
In this manicure, I used quite a few brands of nail polishes. For my base color, I used The FaceShop's pearl sheer-based nail polish for all my nails. For french tips, I decided to break the traditional white tips and resort to blue instead. I also used tapes to make my french tips ^^. This blue comes from Etude House Luci Darling series, named Indigo. As for the polka dots, they come from China Glaze's White on White.


If your area has Etude House shop, I will URGE you to grab EVERY single bottle of its Luci Darling series cos they simply ROCK! Formula is wonderful no matter which color I swatch! Gotta admit, maybe I do have a little problem swatching  yellow ones....

Saturday, May 28, 2011

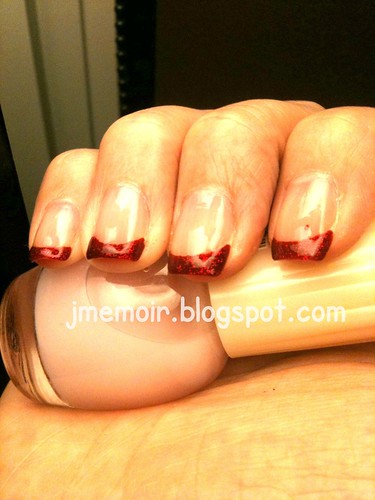
My 1st French Manicure...in RED

I was preparing for another round of manicure which I would like to wear it for my friend's wedding and so, I decided to do up a much more simple manicure few days before I change it again (Will post that manicure soon!). This time, I attempted a French Manicure (finally!) and I had to say, it's my 1st attempt on a French Manicure, hehe.

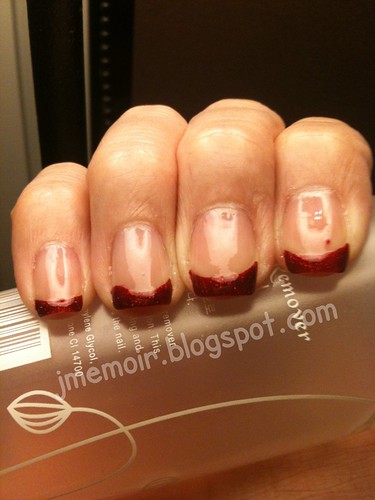
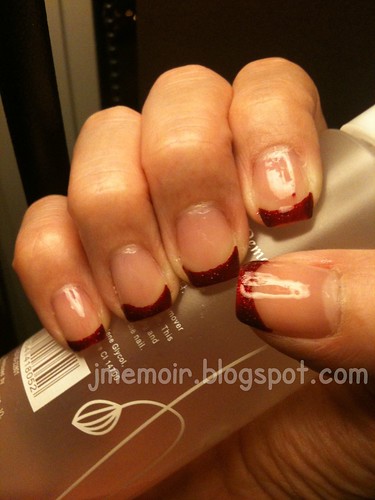
Pictures say a thousand words so I'm not gonna elaborate further! For my 1st French Manicure, I used China Glaze's Ruby Pumps and Nature Republic's unnamed sheer polish.


As you can see, I haven't perfect french manicure using tape so there's still a little flaw when I tried to do some freehand cover-up...and the little dot of polish I left on one of my nails. :(


As much as there seems to have a lot of flaws here and there, I quite like my 1st attempt of French Manicure, especially in RED! Am gonna attempt more French Manicure soon cos I really like the classy look of it!

Wednesday, May 18, 2011

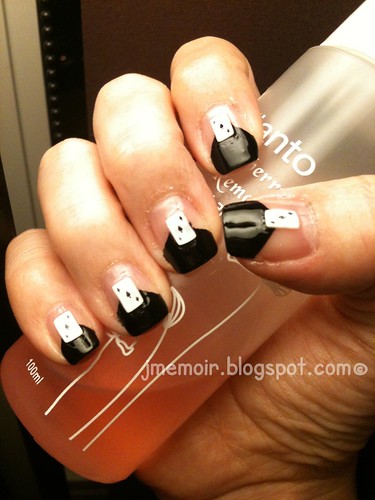
In the Mood for Poker~

My original intention was french manicure, really. But right after i took out the the colors I wished to work on for my french manicure, I changed my mind instantly.

Just like a flash of lightning, I changed my manicure into a black half-V tape manicure with poker-designed fimo slices instead of the french manicure I wanted to do. The black nail polish I used was from The FaceShop. Upon completion, I felt the manicure was rather simple...or so I thought. However, when i went to work the next day with this fresh set of manicure, my colleagues were all complimenting me saying that this manicure nail art looked nice & classy! That really gave me lots of encouragement and acknowledgment on my creativity, hehe ^^.

Next up will be french manicure, I promised!

Monday, May 9, 2011

Strawberry Nails Tutorial

Oh well, It's time I start blogging back my obsession of the moment! This time, I attempted something daring and honestly speaking, it's my first detailed nail art - Strawberry Nails!

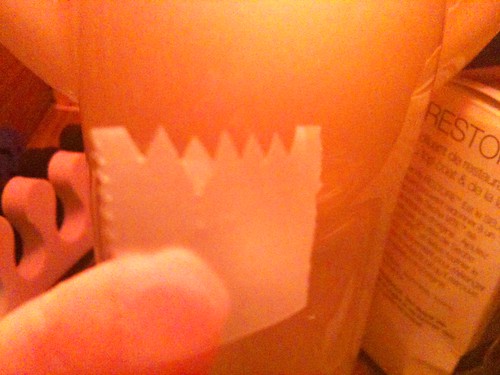
I'm not one who is very good at drawing, thus, I decided to use another method for the strawberry leaves instead of drawing them. That's it, Tape! It's really an alternate way to get the look of the leaves other than drawing them!


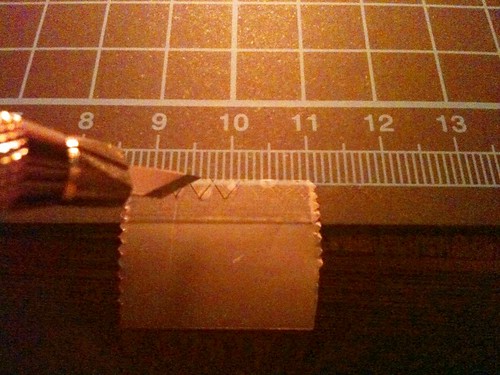
Used an art knife to cut the triangular shapes instead of a scissors. It works better ^^.


I deliberately cut more than what I think my nails can take so as to avoid any mistakes when I am in actual progress. It will really be a headache if your nails are already painted then you realise you still need to do further tape cutting. But yes, I did all these tape designs before I did anything to my nails :D

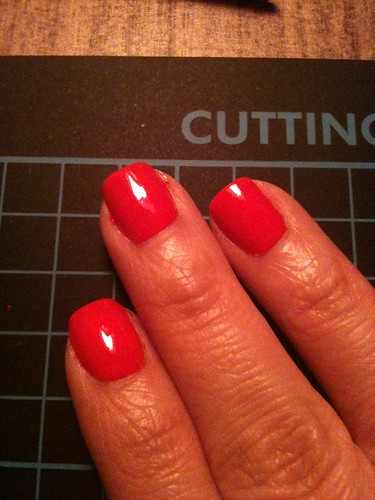
After all the tape designs for all my 10 nails were completed, I started painting my nails. First, paint your base color! Since this is Strawberry Nails, the base's naturally gonna be RED. For this red color, I used Etude House's chili red nail polish which is unnamed but termed RD103. Love the smooth application!


Next, wait for them to dry a little and applied top coat on them. For me, I used Seche Vite Fast Dry Top Coat precisely due to the fact that it dries my nails in a god speed manner. A ridiculously good companion for nail art & tape manicure! After SV has been applied, wait for a brief 2-5 mins and get your tapes on your nails for a fun tape manicure session , hehe.


Well, this photo's slightly blurred but I think it still shows how I placed the tape on my nail. Since it's gonna act like a strawberry leaf, it really doesn't matter if you want to place the tape just the way I place mine, or you want to place it at the tip. It all depends on which angle you want to look at your strawberry nails. If you look carefully on the photo, on my index finger, you will see how it will look like after you coated the un-taped area with green color. For me, I used Eilanto's cheery green which contains slight shimmering. Once again, it is unnamed with a number. Remember, peel the tape away the moment you have finished painting the un-taped area. DO NOT wait till it's dried or the applied lacquer will peel along with the tape.

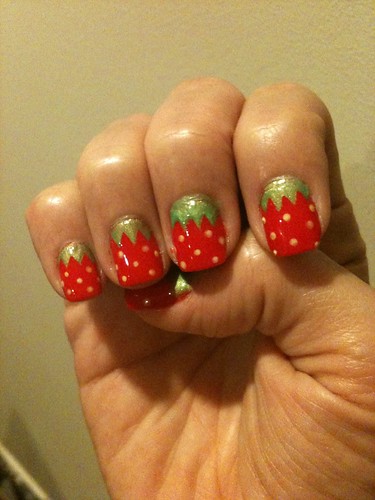
Once all nails are taped and applied with green lacquer, it's time for dotting fun! In this tutorial, I did not take any photos of the dotting as my hands were all full :( Nonetheless, just DOT away with fun as the dots are meant to act as the 'seeds' of the strawberries on your nails! Last but not the least, apply Seche Vite (SV) on your finished product a.k.a your 10 yummy nails.


There you go, 10 yummylicious Strawberries on your very own nails!

It was my first attempt thus, there's definitely flaws somewhere in the midst of doing this piece of nail art but I am definitely proud of myself for being daring enough to attempt it, much less to see that it's quite a fine piece of art on my very own nails!

This nail art had lasted me for at least a week. Being a clumsy person I always have been, it's pretty lasting already! If you are careful enough, I believe they can last you for more than a week for sure :D

Hope you enjoyed the tutorial on Strawberry Nails. More to come soon :D

Wednesday, April 6, 2011

'Zebra' Manicure!

Over the last weekend, I swatched a nail lacquer which I just acquired online - China Glaze's 'The Ten Men'. It wasn't the easiest lacquer to swatch but I think apparently, some of my friends commented that the silver looked good on my nails.Please do not get me wrong, The Ten Men is not a bad nail lacquer, but perhaps just had a different kind of formula which is just not the easiest to be applied...I was pretty annoyed by the obvious brush strokes on my thumb, so I decided to do a tape manicure over them.

Wanted to snap the progress of my tape manicure for this but they were just too messy. With the tape manicure I had in mind, they required too many tapes & my hands on this day, just broke out in sweat far too often. With sweat breaking out, making the tapes sticking on the nails were really challenging T_T"
Nonetheless, I completed them!


Don't be shocked if you see the designs being inconsistent, I purposely wanted them this way. In order to show such design, every nail required almost 3 stripes of scotch tapes! In the end, after the tape manicure was completed, I began to feel my nails look resembling 'zebra' stripes. And yes they really does! Hence, I named my tape manicure of this as 'Zebra' manicure, hehe! Not too shabby ya? I know improvements are required of cos! I really hope to do more different style of tape manicure for the fun of it and also to lighten my own life by a fair bit!

I already have in mind my next tape manicure and for this upcoming design, I intend to blend both tape manicure and fimo nail art together! Wish me luck & you shall see the outcome soon enough!

Wednesday, March 9, 2011

Tape Manicure - 1st attempt

In my previous post on nails obsession, I mentioned that I'll be attempting tape manicure soon. And so, here's how I did it:
Making use of my current color - OPI 'Give Me The Moon'. I decided to keep it for this tape manicure cos I simply hate the idea of re-painting my nails ALL OVER again should I fail...As shown on the photo above, I used a scotch tape to do my tape manicure (any scotch tape will do) but please ensure your nail polish is already dried up!
There, a coat of new color - Del So 'RockStar' was applied to the area I did not cover. The trick now is...you gotta remove the tape quickly after you finished applying yr color on it. If you wait too long to remove the tape, it is highly possible your new color will peel along with your tape.

Repeat the process with the rest of your nails and here's how they will look on your fingers:
This marks my 1st attempt at tape manicure! Frankly speaking, i quite like this color combination + the tape manicure result! Feels so accomplished hehe!

There are a lot of designs u can play with the tape. I'm already thinking on my next design with a new set of color combination! This certainly is fun!!! Not only that, i can save my $$ for going to manicurist, kekeke!

*Please pardon the blur photos as I took it too quickly & by then, it's too late to retake! Next one shall take clearer photos!